Optimal Timing for Weather Stripping Installations
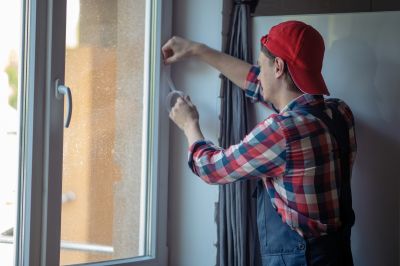
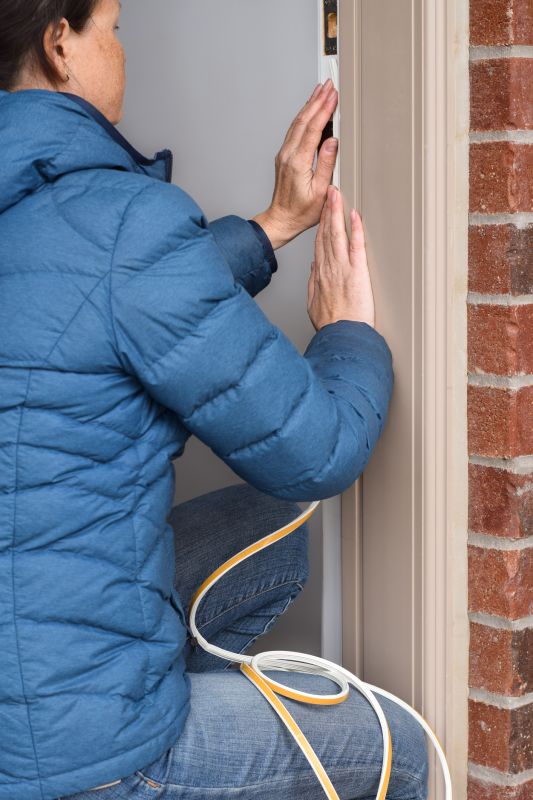
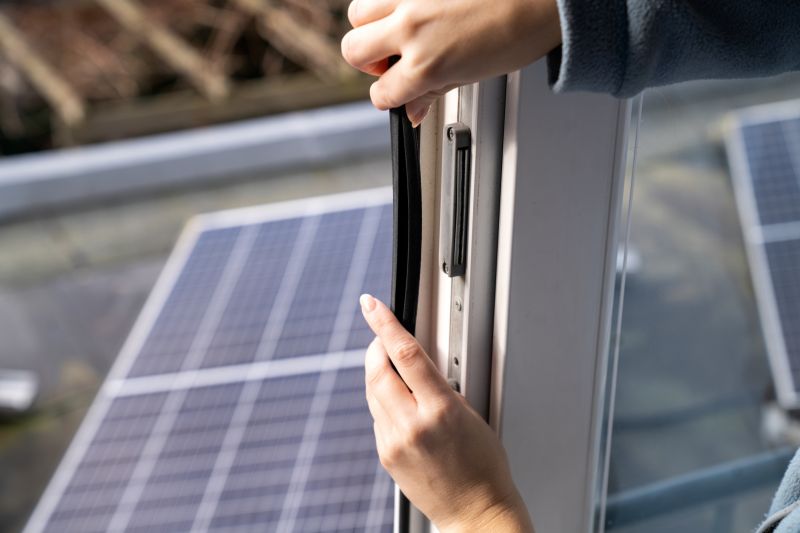
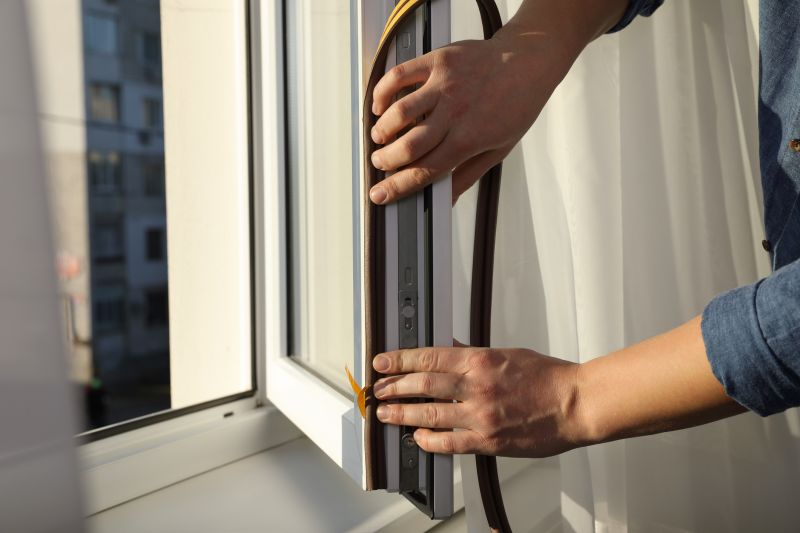
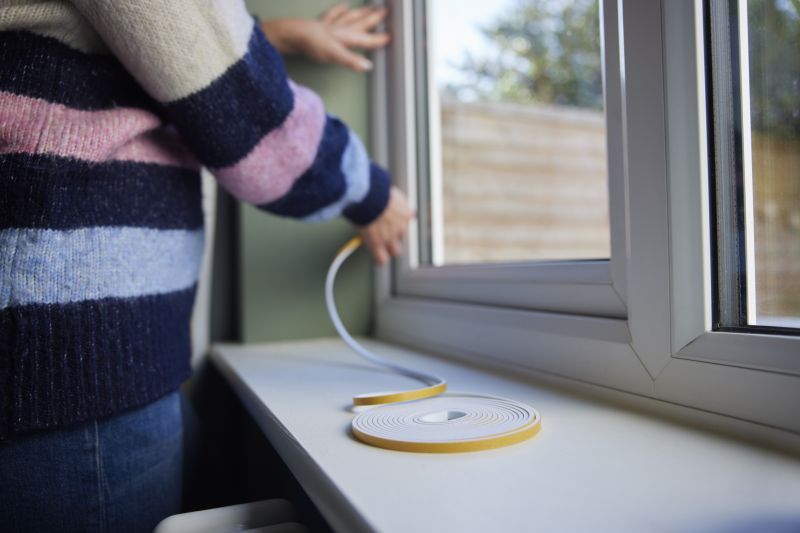
Installing weather stripping during mild weather ensures proper adhesion and sealing, reducing the risk of material warping or improper fit.
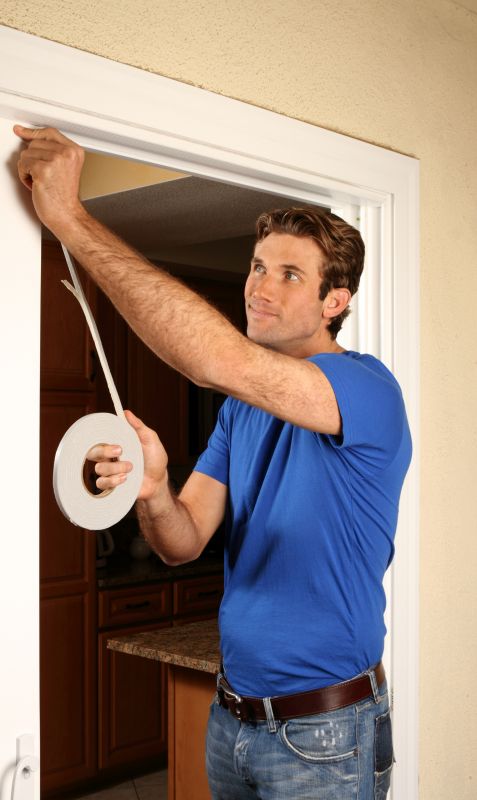
Optimal installation occurs when temperatures are between 50°F and 85°F, allowing materials to expand and contract minimally, resulting in better sealing.
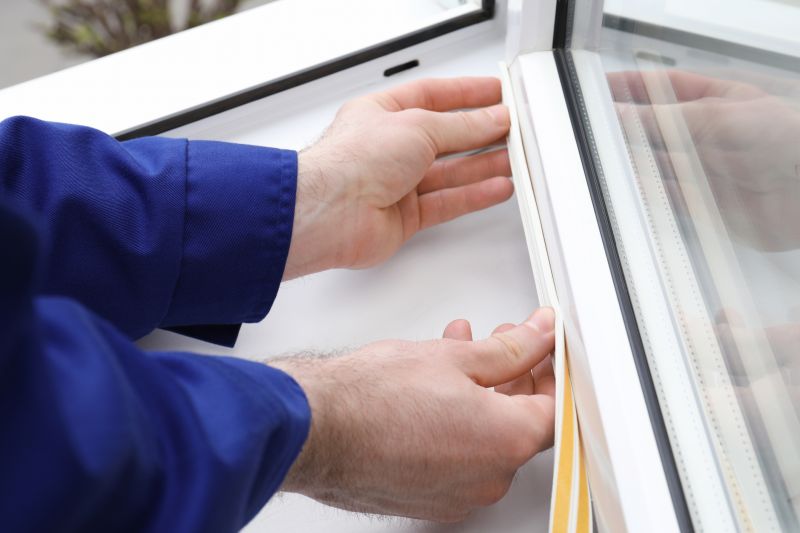
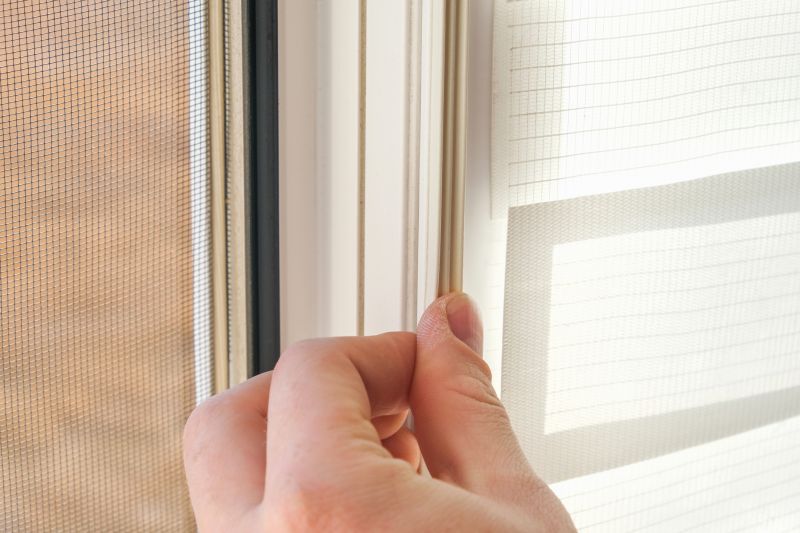
Low humidity periods prevent moisture from affecting adhesive bonds, ensuring weather stripping remains secure and effective.

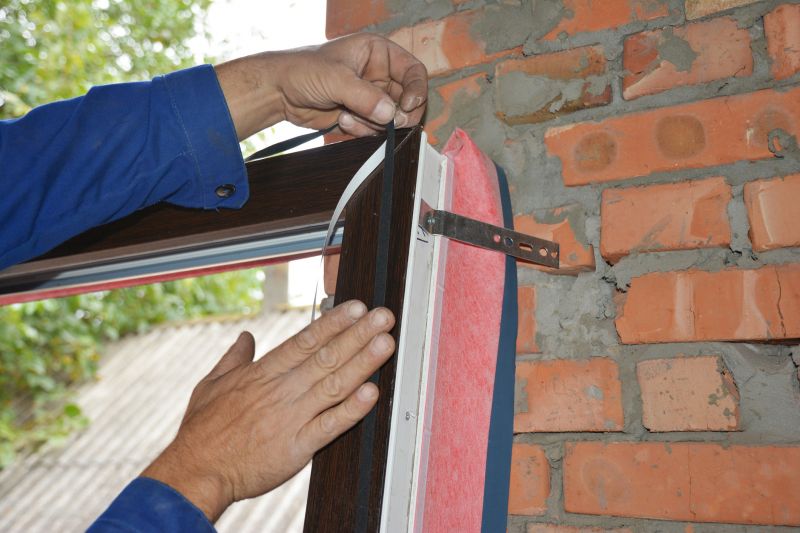
Ways to make Weather Stripping Installations work in tight or awkward layouts.
Popular materials for Weather Stripping Installations and why they hold up over time.
Simple add-ons that improve Weather Stripping Installations without blowing the budget.
High-end options that actually feel worth it for Weather Stripping Installations.
Finishes and colors that play nicely with Weather Stripping Installations.
Weather stripping is a vital component in maintaining indoor comfort and energy efficiency. Proper installation reduces air leaks, which can account for up to 30% of energy loss in a building. The effectiveness of weather stripping depends heavily on timing, as environmental conditions influence adhesive performance and material flexibility. Installing during favorable weather conditions ensures longevity and optimal sealing performance.
Proper timing improves adhesion, extends durability, and enhances energy savings by ensuring a tight seal against drafts.
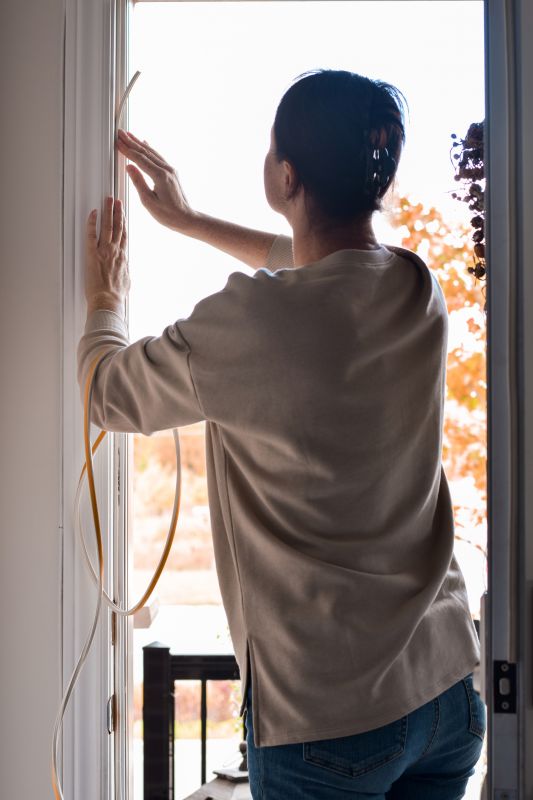
Ideal periods include mild, dry weather with stable temperatures, avoiding extreme cold or heat that can compromise materials.
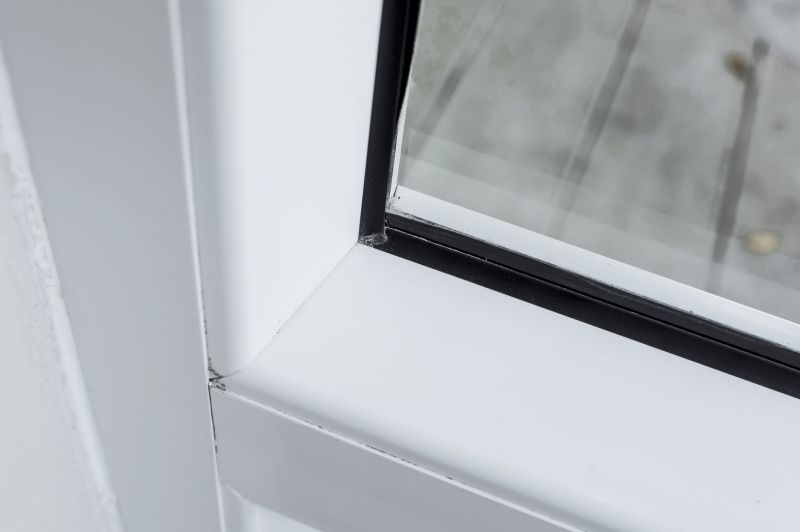
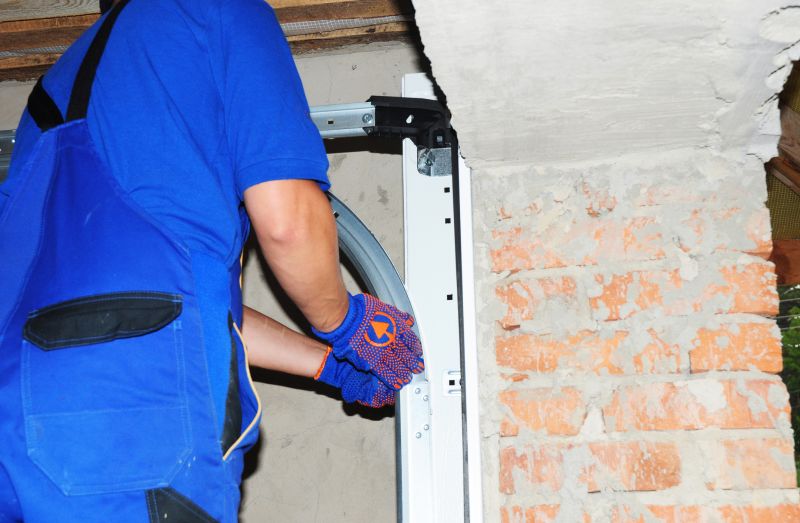
Installing during harsh weather can lead to poor adhesion, material warping, or incomplete sealing, reducing effectiveness.
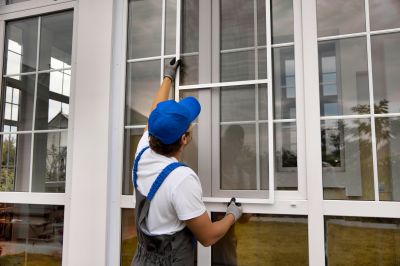
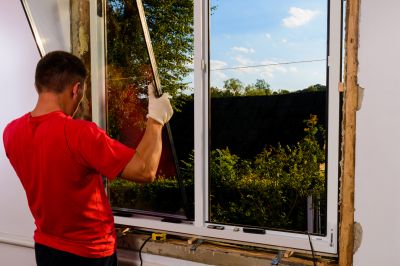
Regular inspections and timely replacements during appropriate weather conditions maintain optimal performance year-round.

Spring offers moderate temperatures ideal for installation, with lower humidity levels supporting adhesive bonds.
Fall provides cool, dry conditions suitable for sealing, preparing for winter months.
High temperatures and humidity can compromise adhesive performance and material flexibility.

Cold and damp conditions hinder proper adhesion and can cause materials to contract, affecting seal integrity.
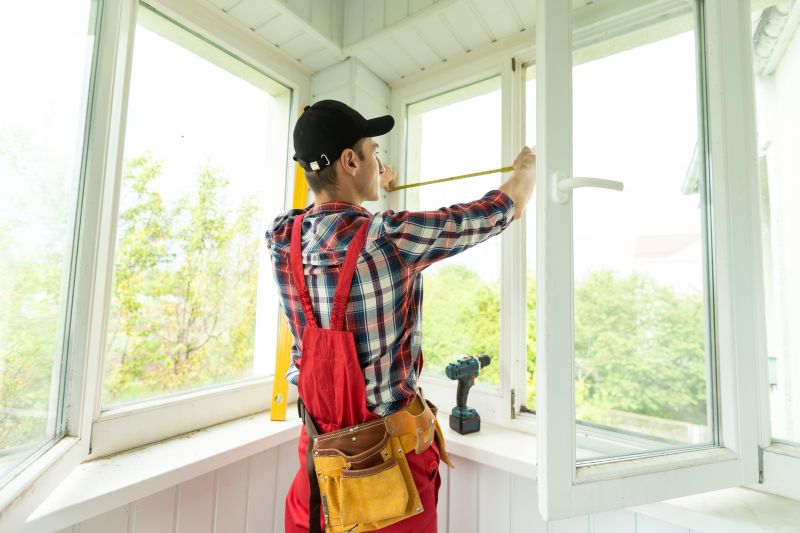
Little measurements that prevent headaches on Weather Stripping Installations day.
A 60-second routine that keeps Weather Stripping Installations looking new.
A frequent mistake in Weather Stripping Installations and how to dodge it.
Small tweaks to make Weather Stripping Installations safer and easier to use.
| Season | Ideal Conditions |
|---|---|
| Spring | Mild temperatures, low humidity |
| Summer | High heat and humidity are not recommended |
| Fall | Cool, dry weather |
| Winter | Cold and damp conditions should be avoided |
| Late Spring | Optimal for adhesion and sealing |
| Early Fall | Suitable for installation before cold weather |
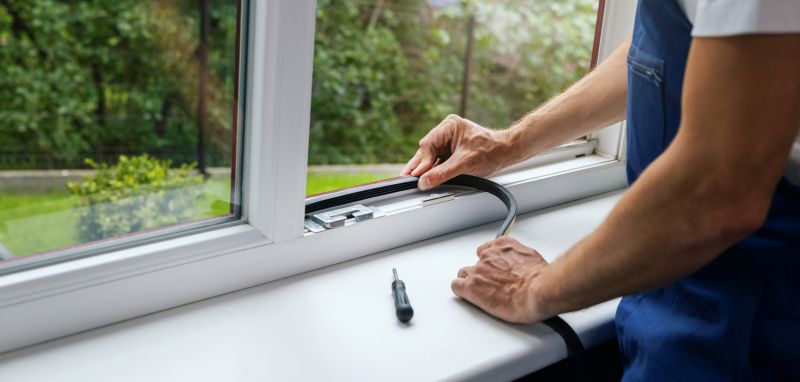
Selecting the appropriate time for weather stripping installation maximizes its effectiveness and lifespan. Environmental factors such as temperature and humidity significantly influence the adhesion process and material flexibility. Installing during ideal conditions prevents issues like warping, poor sealing, and early deterioration, ultimately ensuring energy efficiency and indoor comfort.
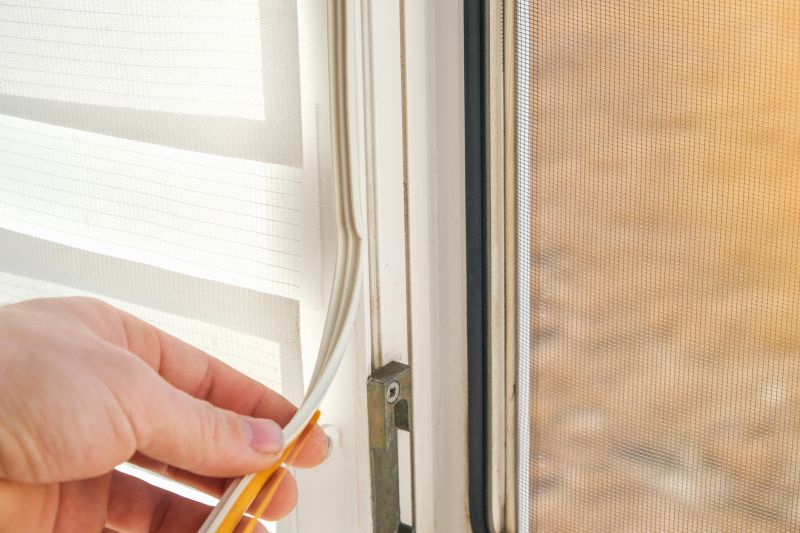
Different materials perform better under specific environmental conditions, making timing crucial for optimal results.
Cleaning surfaces and choosing the right weather window improve adhesion and durability.
Installing during unsuitable weather can lead to poor seals and early failure.

Regular inspections and timely replacements keep weather stripping effective over time.
Lower-waste or water-saving choices for Weather Stripping Installations.
The short, realistic tool list for quality Weather Stripping Installations.
Rough timing from prep to clean-up for Weather Stripping Installations.
Quick checks and paperwork to keep after Weather Stripping Installations.
Interested in improving your building’s energy efficiency? Fill out the contact form for assistance with weather stripping installations.